
Been asked a few times Now on some Forums how I go about weathering my world eaters stuff. So rather than make a half ass reply to people, I thought it best I do a little Tutorial to show you guys how I do it. And like anything in this hobby eventually you will work out your own ways of doing things that work best for you. Now this tutorial took me all of 30 minutes to do, from spraying the model to finish. That gives you some sort of idea at just how fast you can achieve the heavily weathered look. Spending a little more time on Parts will obviously give better results, but for a basic 101 in World Eater weathering this will do.
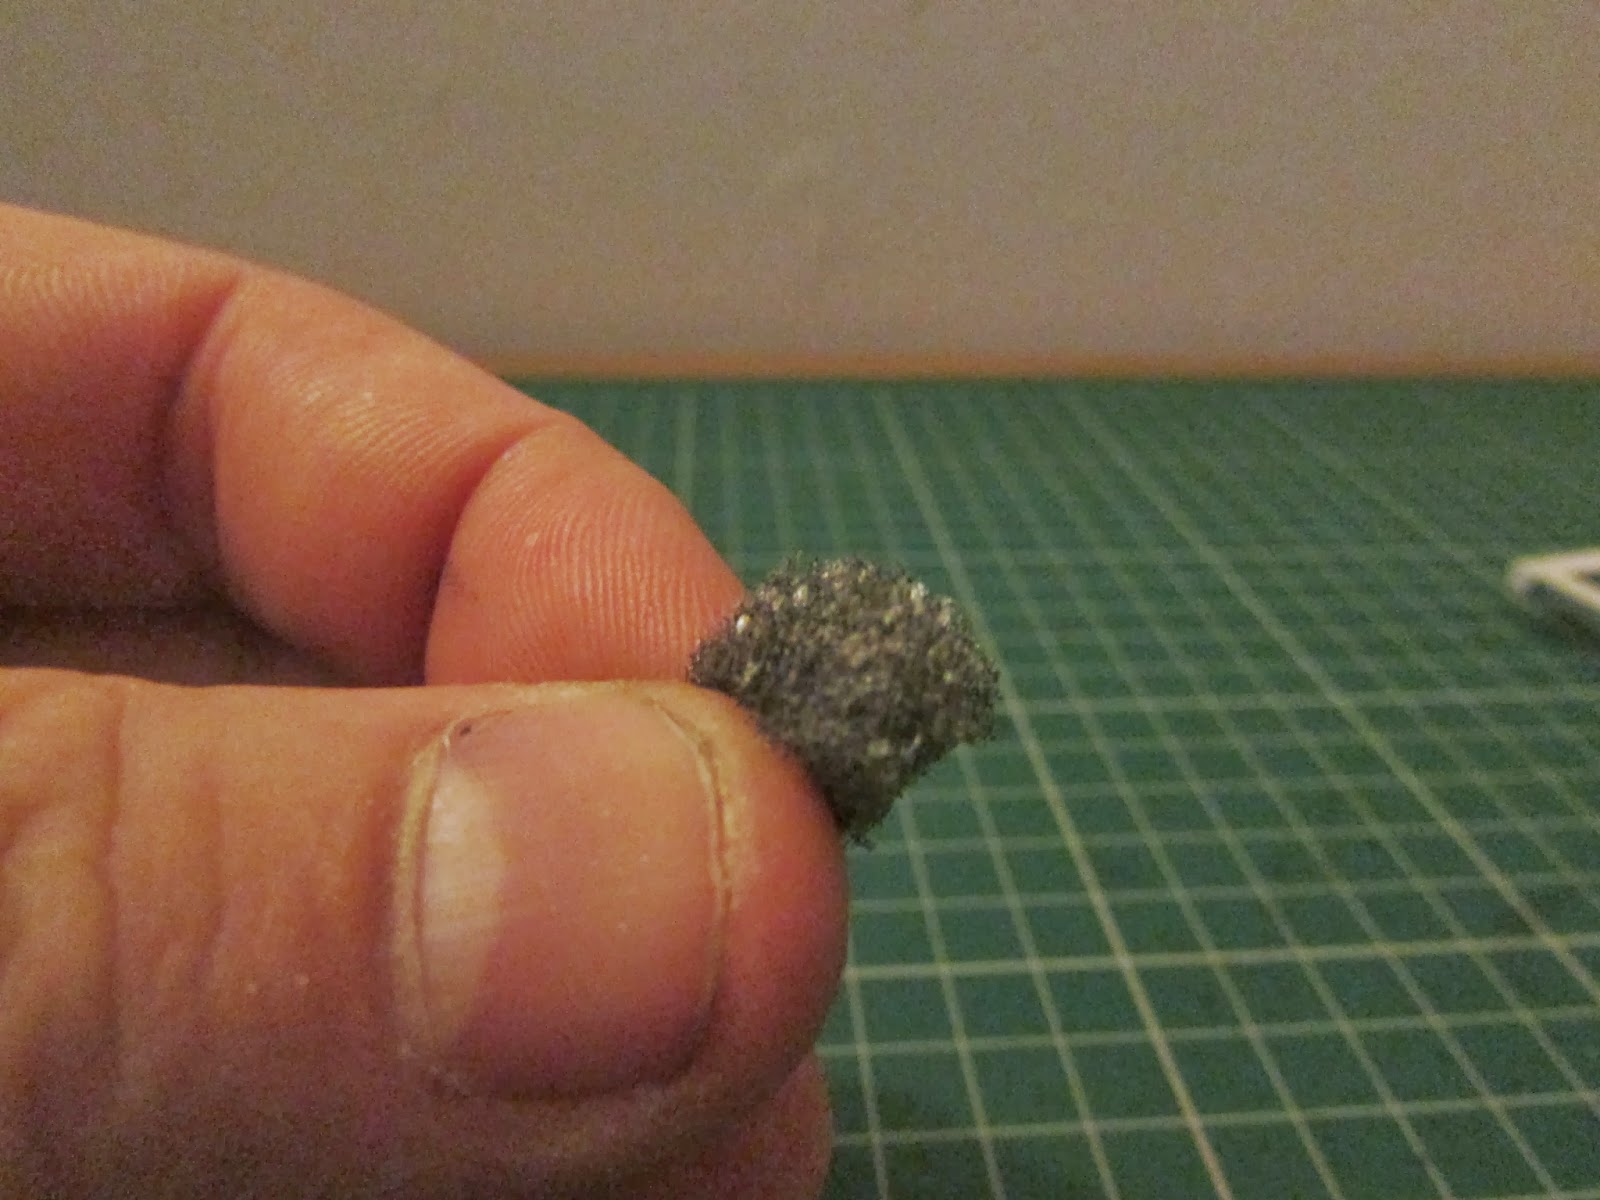
Now you will need a few things here, most important is High density foam, the sort you fined in the back of old metal blister packs, of packing foam. A cheap Washing up sponge also works. And secondly Cotton swabs, these are a must, if you are in the UK you can grab a pack of 500 for 99p.
Then you are going to need a half decent brush, if you have a brush that you use for edging models, that is the brush you want to use. Then there are the optional tool, craft knife, pin drill and something to make scrapes/gouges, I use an old Airbrush needle. These items depends on if you want to add some damage to your Models.

So the first step is to get your model Painted like it would be if it rolled off the production line, And Built, if you are like me and paint everything before you glue it together. For this tutorial I am using a Rhino side section, as you get a few spare when you buy the MKI Rhinos from forgeworld, so these sides give you and excellent practise piece. And for this I'm just going to leave it on the Sprue, as its never going to get used, and will most likely end up in the bin after I finish this.

So its time to give it a warn paint look. Easiest way to do this is using some high density foam. You want to rip a small piece off that you can pinch between your fingers, and then you can start to shape your self a little tool, I fined a Domed shape is best to use, and then make one that goes to a point, for smaller hard to reach places.

Now what colour to use............... If you have a two colour paint scheme this is very easy to choose, you just use the colour that there is the most of on the model, in the case of my world eaters this is White. The reason for this is we have to imagine that the colour with the less percentage is going to be painted over the main colour. So with my World Eaters, this will be the Blue painted over the white, So when the blue paint is damaged and chipped or just worn down the white paint will start to show through.

So as you can see below on the blue areas i have sponged on some White Scar, to give the effect of the blue paint worn down, or chipped away.

The next stage is deeper amount of damage, we can assume that in the 41st millennium, they did not bother to make indestructible paint. SO we need to add the effect that in places the paint has worn off so much that we are down to the bare metal. or for what passes for metal in the 41st millennium. So the next stage is to take Leadbelcher or Bolt Gun metal for the old school paint. and sponge it on.

When applying the Silver paint you want to sponge over the white that you have created on the blue sections as well. sponge all the edges you want to, you can go for very subtle amounts or like I do with my world eaters, go very heavy. The sponging will naturally pick out edges, but after you finish with the sponge you want to use your edging brush and make sharp edges just as you would if you where to highlight the edges of your models. you only want to do this on the areas that you applied sponging too, I suggest making it heavier on the front edges and the bottom edges.

Now we want to highlight that silver with a lighter silver, for this I use Iron breaker, this give the appearance of a just scuffed of damaged part, or an area that is constantly being hit or rubbed against, so areas like around the door, and the front and lower edges especially.


Now this next step is not for everyone, For reasons I will explain at the end. But for now, this is how i make my rust effects. This consists of Vallejo Light red, and Vallejo Burnt Umber. You want to get a lot of red down first and then add a single drop of Burnt umber at a time, as light red is a very washy colour, and burnt umber easily overpowers it. so just add what you need, don't just splodge some on and hope when its mixed it works as it wont, "GO EASY WITH THE UMBER YA HEAR" .
Once you get a colour that you like, Then you can go up a notch and add in some weathering powder, this gives a deeper colour, and if you don't mix it in perfectly you get a change in colour on parts that also gives a better rust effect.


Again sponge this on, but do it sparingly, and only do it on areas of silver. if you apply to much here you can wait till it drys and go back over it with silver, and you will get the same effect, Sometimes I do this step before the silver, but its entirely up to you and how you work with it.

After you have done all of that its time to tie the whole thing together, And like any lazy Painters a wash is the best way to do this, but also add more weathering effects at the same time. For my world eaters, I use a mix of 70% Agrax Earthshade and 20% Nuln Oil, depending on your colour scheme you may need to adjust this, for yellow like Imperial fists I would be looking at a 50/50 mix, and maybe add in a medium as well, as to much Agrax earth shade will turn yellow very brown. I have a few pots ready mixed of this, and ready to go.

Applying the wash is simple, get ya biggest brush, and paste the model in it, cove everything in it, metal work, etc. even things like purity seals. Worst thing I have seen weathering wise, was a nicely weathered tank, but with bright and clean purity seals and emblems. Its like the Servs, decided to only clean parts of the tank on to save time. So at this stage everything gets it.

Now the most important bit, removing that wash. This is where a ton of cotton swabs comes into play. you want to remove that wash you just splatted over the model by rolling the swabs back and forth, changing them over for clean ones regularly. Then on the high spots, you want to use a clean swab and rub hard, this will bring more of the base colour through the wash and in some respects give it a sort of highlight. the wash also tones down all of the rust effects and brings out the difference between the two tones of Metals you applied.

And that peeps, is that, a very very fast way to weather your models using my world eaters technique as an example. Now I mentioned earlier about the rust effects, If you happen to play with a bunch of guys that for some reason know the ins and outs of the particles that make up Ceremite, you may wish to skip the rust effects, hell skip the metal effects. we all know our self's that in the 41st millennium they probably wont use a material that rusts, hell if the name has anything to do with it then Ceremite is some sort of ceramic material hardened by the hairs from L337 Neck beards from the virgin stock of basement dwellers. and as such probably is not silver in colour even though th colour of Grey knights can be argued here as there armour is apparently bare Ceremite. and it wont rust. however we want a look to our models that says they have been through hell and back, and the easiest way to do this is by giving them chipped paint and rusty metal.


